First mission
The first lesson is a real simulation, not a slideshow. You take control of a rover, drive it with physics, and complete objectives that are checked against the live world. The lesson is the fastest way to see the division between USD, Modelica, Rhai, and the runtime without authoring a project first.
Before you begin
Launch LunCoSim and wait for the workbench to finish opening. You do not need to create a Twin or open a scene manually; the lesson launcher selects the authored scene and starts the lesson's Rhai scenario.
Open Scenarios → Tutorials in the menu bar. The catalog opens with the Start Here track expanded.
Option A — Lunar Rover Lab (30 minutes)
Scenarios → Tutorials → Start Here → Lunar Rover Lab
This is the recommended classroom activity. It is an exercise, so each step advances only when the simulation observes the requested result. You will:
- Drive to a marker and stop inside it.
- Open a speed graph and identify a real motion sample.
- Predict the result of changing drive demand, then run two trials.
- Explain the measured result.
- Move a block into an authoring bay.
- Save the result as your own Twin.
The lesson card stays visible across perspectives. Instructor checkpoints let you jump to driving, telemetry, or comparison practice without pretending the earlier tasks were completed. Restart whole lab (discard edits) resets the document through the normal scene restart.
Option B — First Drive (5 minutes)
Scenarios → Tutorials → Sandbox → First Drive
Use this when you only want to see the core loop:
- Open the lesson.
- Click Take control.
- Drive to the glowing flag.
- Stop inside the marker.
The rover's motion comes from the authored Modelica controller and the native physics engine. The lesson script observes possession, the flag sensor, and the rover's speed; it does not advance from elapsed time.
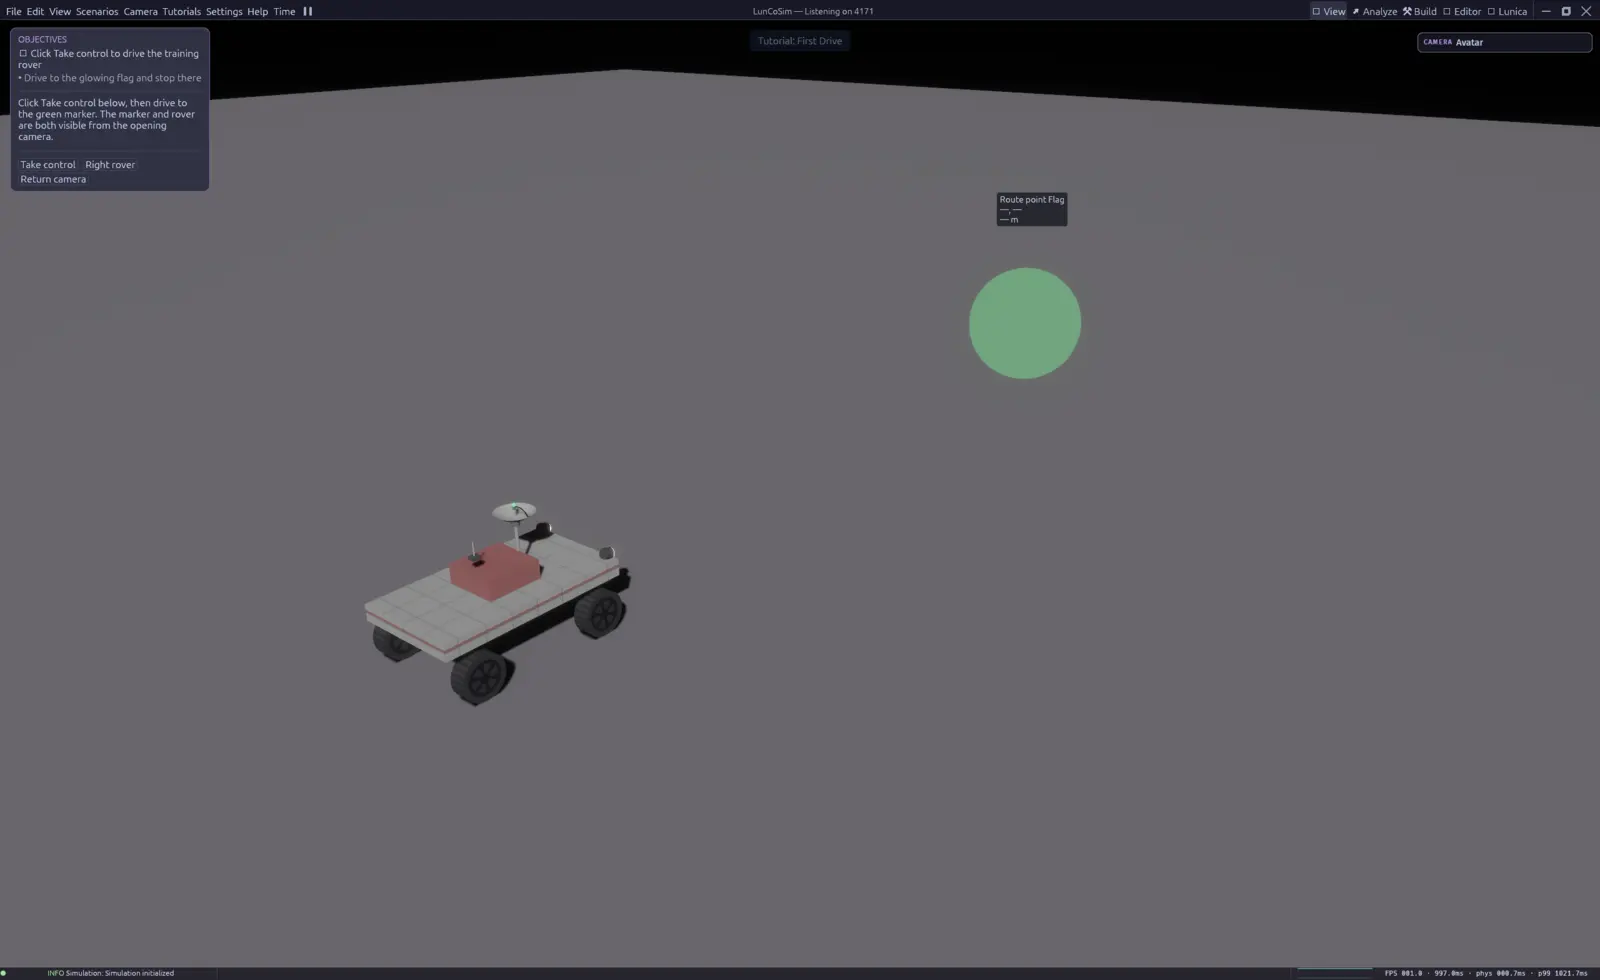
Reading the lesson card
The card shows the current objective and the actions that are valid now. Some actions are mouse buttons in the card, some are keyboard controls, and some are buttons that open another perspective.
The lesson uses semantic input hints such as forward, brake, and left. The displayed key is resolved from your current input bindings, so re-binding an action changes both the actual control and the lesson text. See Controls.
A tour and an exercise look similar but behave differently. A tour advances when you choose Next; an exercise waits for the world. If an exercise card does not advance, the current objective has not been observed yet. Read the objective and the hint before assuming the application is stuck.
Driving the rover
Selection is not control. Clicking the rover selects it; it does not send your input to it. Use Take control in the lesson card, or click the input endpoint, before driving.
The default bindings are:
| Action | Default |
|---|---|
| Forward | W |
| Reverse | S |
| Steer left | A |
| Steer right | D |
| Brake | Space |
| Release control | G |
| Pause | P |
The lesson displays the bindings that are actually configured, not a hardcoded key name. If a binding reads unbound, the action has no key and the lesson cannot be completed with the keyboard until you assign one in Settings → Keybindings.
What just happened
Under the lesson there is a normal Twin:
- A USD scene owns the rover, the ground, the flag, the camera, and the sensors.
- A Modelica model owns the rover's continuous drive behavior.
- A Rhai scenario owns the lesson steps, hints, objectives, and completion checks.
- The runtime projects the scene into physics, steps the model, and delivers events back to the scenario.
That division is the main idea behind LunCoSim. The lesson is not a special mode with a separate physics implementation; it is an authored scene and an authored scenario running through the production runtime.
If the lesson does not advance
| Symptom | Likely cause | What to do |
|---|---|---|
| The rover ignores input | You have not taken control | Click Take control or the input endpoint |
| The rover moves but the marker does not trigger | You stopped outside the marker radius | Drive fully inside the glowing area and stop |
| The card shows a key that does nothing | The binding is unbound or remapped | Open Settings → Keybindings and check the action |
| The viewport is empty | The lesson scene did not load | Reopen the lesson; check the status bar for an asset hold |
| The rover rolled over | The slope or speed exceeded the authored limit | Use Right rover, then approach more slowly |
| A graph is empty | The simulation is paused or the channel is not selected | Resume, then select a live channel in Telemetry |
After the lesson
Continue with Create a Twin to turn a working scene into your own project, or read How it fits together to understand the layer boundaries in more detail. If you want to inspect the values behind the lesson, open Inspect telemetry.