Create a Twin
There are two practical ways to start a project:
- Promote a working scene. Open a lesson or example, then save it as a new Twin. This is the fastest way to get a real scene with physics, models, and scripts.
- Start empty. Create a new Twin and add your own scene and sources.
Both produce the same artifact: a folder with twin.toml. The difference is
how much authored content is already present.
Promote a scene into a Twin
- Launch LunCoSim.
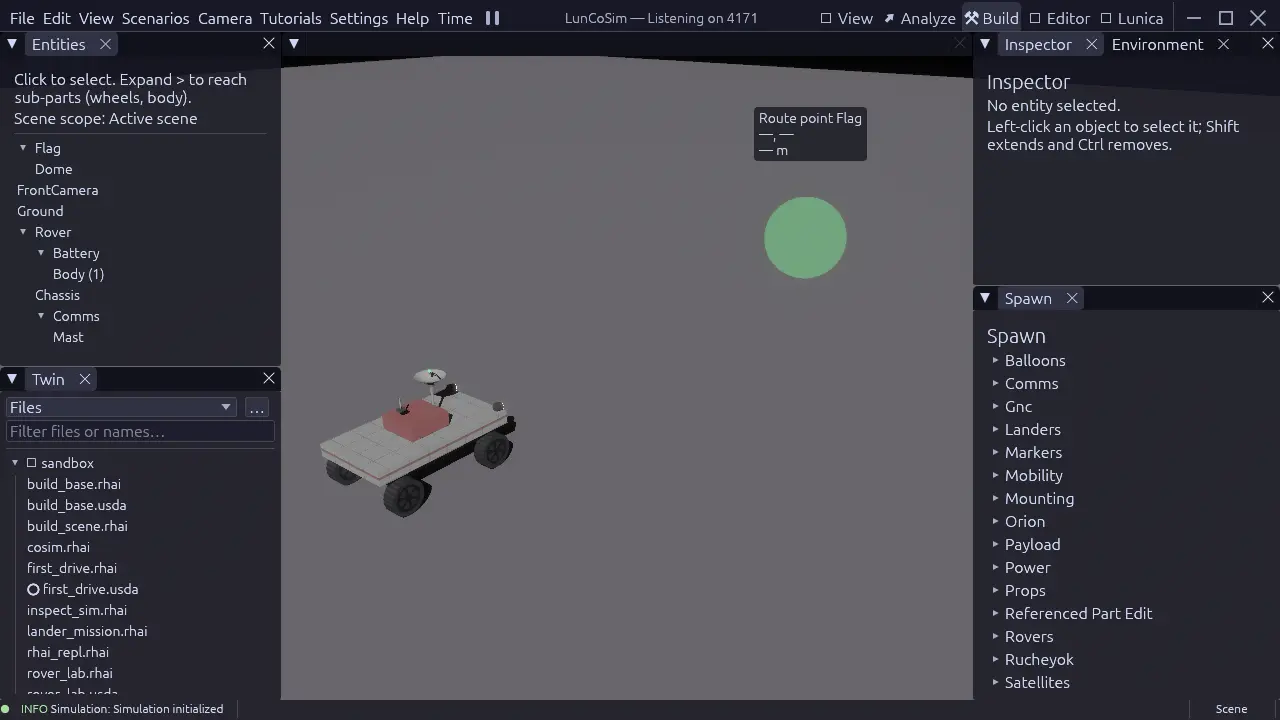
- Open Scenarios → Tutorials → Sandbox → First Drive so a working scene is mounted.
- Choose File → Save as Twin….
- Select or create an empty folder for the project.
- Confirm. LunCoSim writes
twin.tomland opens the new Twin.
The new folder contains the scene document and the manifest. The scene keeps
its normal lunco:// references to the installed library; it is a project that
uses the shared asset bundle, not a self-contained copy of every referenced
asset.
Start from a new Twin
Choose File → New Twin…, select a folder, and provide a name. LunCoSim creates the manifest and opens the project. You can add a scene later.
A minimal manifest looks like this:
name = "my-rover-twin"
version = "0.1.0"
description = "My first LunCoSim project"

[usd]
default_scene = "scene.usda"
The folder should look like:
my-rover-twin/
├── twin.toml
├── scene.usda
├── models/
│   └── Drive.mo
├── scenarios/
│   └── drive.rhai
└── .lunco/
default_scene is the important line. It tells LunCoSim which USD stage becomes
the active world when the Twin opens. Without it, the Twin opens as a file
browser and does not mount a scene.
Add a scene
If the Twin was created empty, add a USD file and point default_scene at it.
The smallest useful stage declares a default prim and the stage's units:
#usda 1.0
(
    defaultPrim = "MyTwin"
    upAxis = "Y"
    metersPerUnit = 1
)

def Xform "MyTwin"
{
    def Xform "Ground"
    {
        def Cube "Pad"
        {
            double size = 10
            double3 xformOp:translate = (0, -0.05, 0)
            uniform token[] xformOpOrder = ["xformOp:translate"]
        }
    }
}
This stage is inert until the runtime projects it. It has no physics, no behavior, and no mission. That is enough for a first open; add behavior in the next tutorials.
Add behavior
- Modelica goes in
.mofiles under the Twin, then a USDLunCoProgramAPIprim points at it withinfo:sourceAsset. - Rhai goes in
.rhaifiles under the Twin, then aLunCoProgramAPIprim points at the scenario. - External assets go in
Assets.toml, never as hardcoded cache paths.
The next tutorials build each layer:
- Build a scene — place and save assemblies.
- Add a Modelica model — attach and wire continuous behavior.
- Script a mission — attach a Rhai scenario.
Run it
Open the Twin and choose its default scene, or load the scene directly:
Use an explicit free API port. Run from the folder containing the Twin if you are using a source build and relative asset paths.
The application does not guess a starting scene from a folder of .usda
files. If default_scene is absent or wrong, the Twin opens as a file browser.
That behavior is intentional: a project can contain many scenes and only one
entry point.
Check the manifest
If the Twin does not open the scene you expect:
- Confirm
default_sceneis a path relative to the Twin root. - Confirm the file exists and is a valid
.usda. - Reopen the Twin after editing the manifest; the manifest is read at open.
- Check that unknown fields are not present — the manifest parser rejects typos.
See twin.toml for the field reference.
Version the project
A Twin is an ordinary folder. Initialize a Git repository at the Twin root and commit the authored files, not the local session state:
Do not commit downloaded cache bytes. Declare them in Assets.toml and let the
asset system fetch them. A colleague who clones the Twin should be able to open
it, accept the declared downloads, and run the same authored scene.
Related sections
- Twins — the project model and lifecycle
- twin.toml — the manifest reference
- Assets.toml — external assets
- Build a scene — the next authoring step
- Validate and share — the handoff